Volumetric Fog
What is Volumetric Fog?
When light travels through our atmosphere it hits particles which scatters the light in different directions. As an example, this phenomenon causes the sky to be different shades of colours during a sunset or light to be visible from light sources during heavy snow, rain or fog. Volumetric Fog is a simulation of this real-world event by calculating the amount of light that reaches our camera when traveling through a volume.
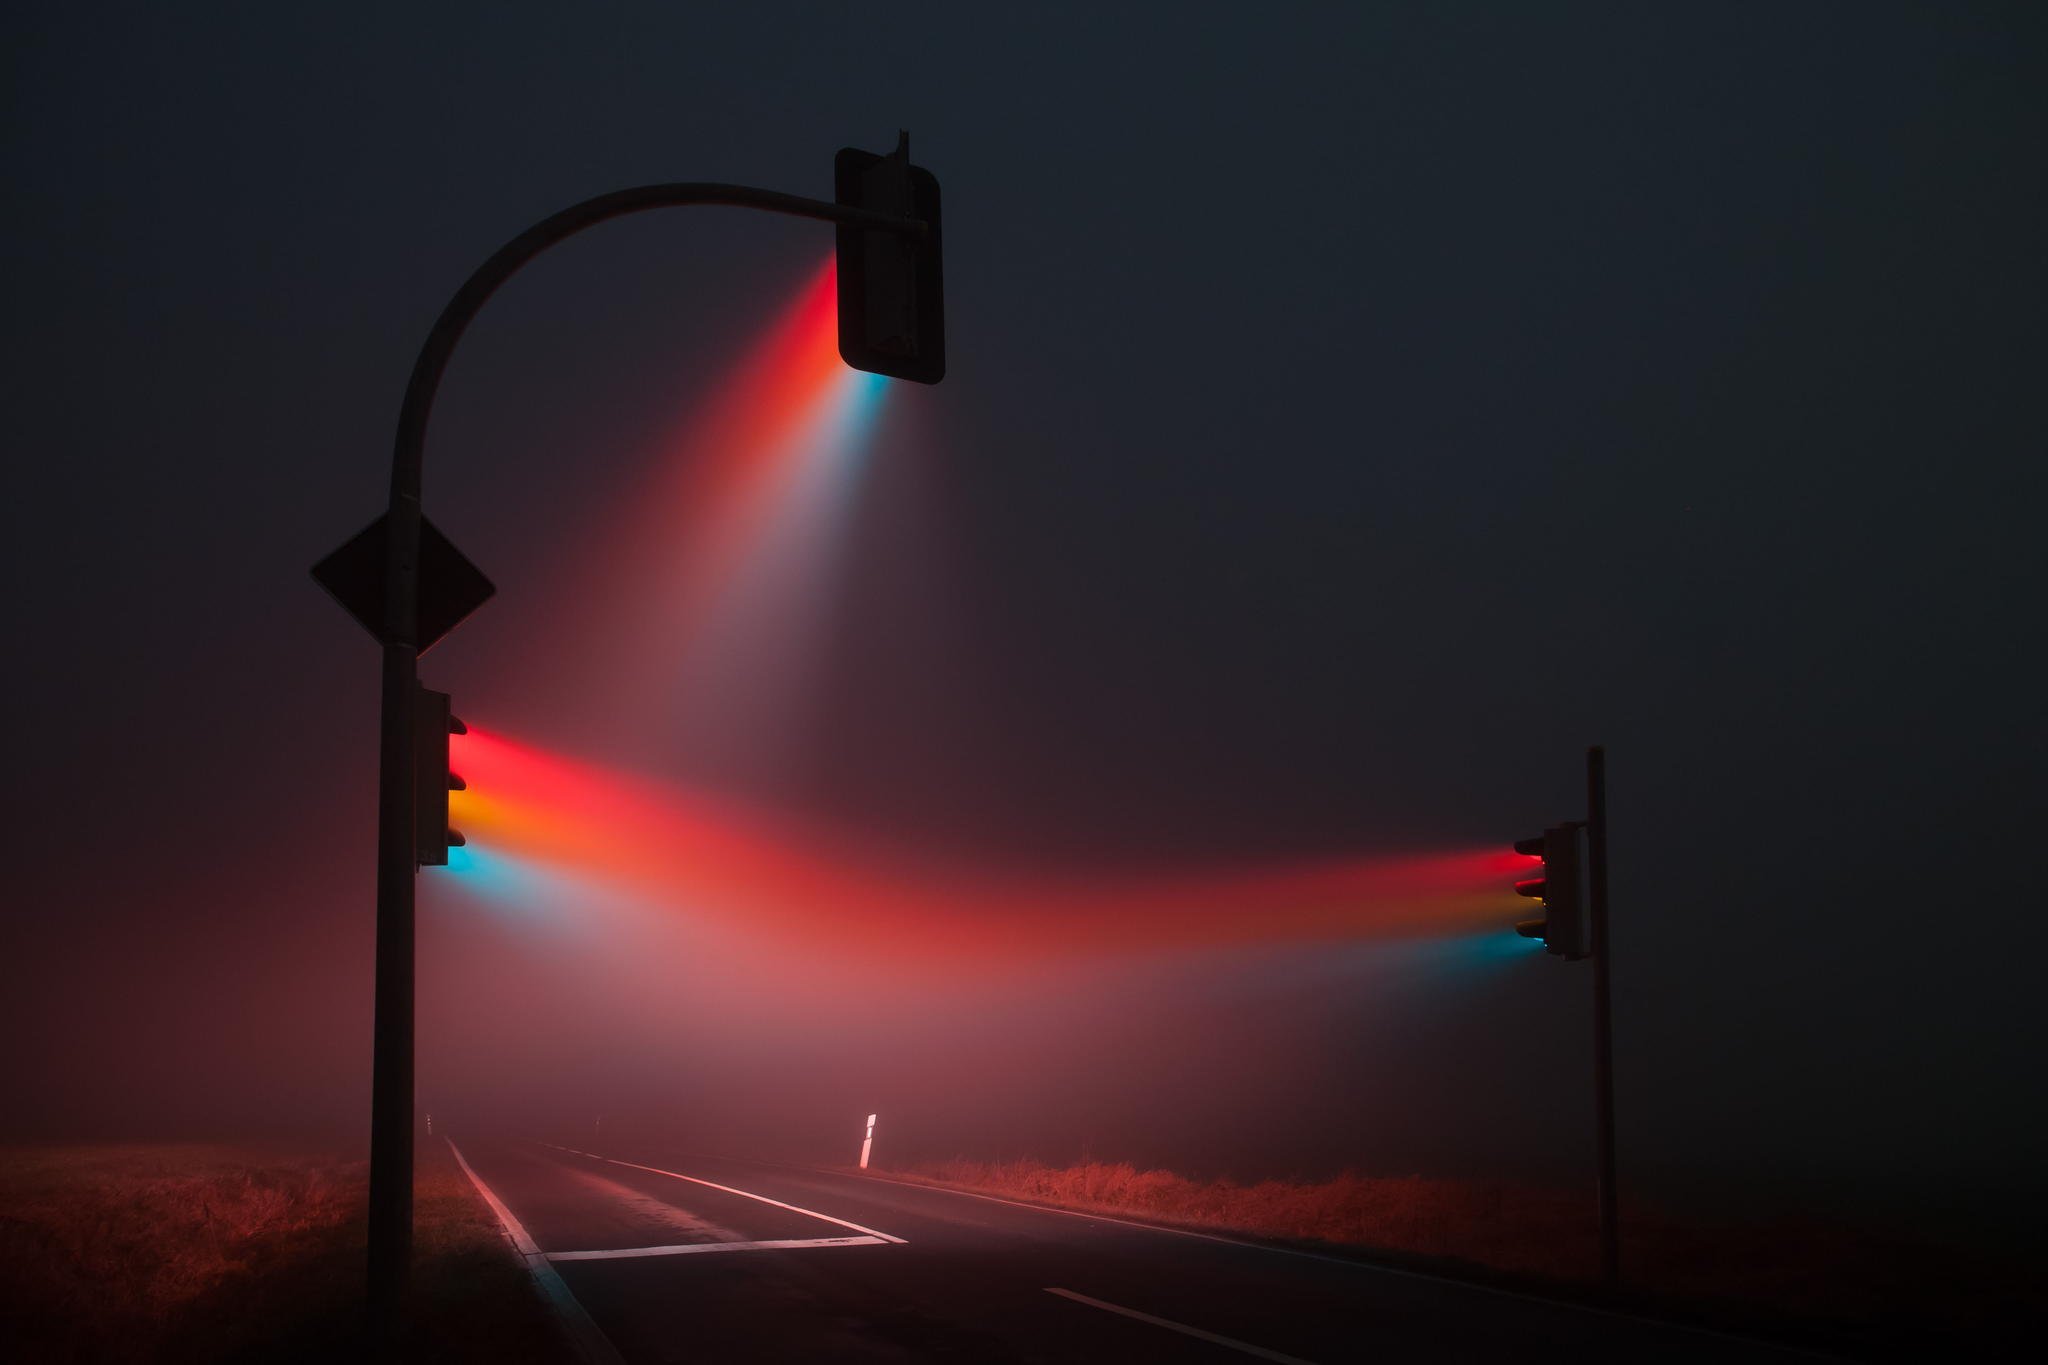
A photograph showing light scattering in heavy fog
Breakdown
So how is it done?
In short, the volume is defined by having two 3D textures. Each texel in the 3D texture represents a
point in the volume.
The first texture is responsible for calculating the amount of light for each point in the volume. This
is done by iterating over the number of lights affecting the volume and checking the corresponding
shadow map to see if the light source should affect a given point. Unless the light is occluded the
amount of light is calculated and saved to the texture.
The second texture contains the fog density data that represent how much fog there is at a given point
in the volume.
Finally, a pixel shader applies the information from both textures by raymarching through the volume,
calculating the colour and density for each point it traverses through, and renders the volume to the
back buffer.

A visualization of how 3D textures works
shadowFactor = CalculateShadowNoBlurring(dLData.shadowMapInfo, dLData.transform, worldPosition, bias);
float3 colour = dLData.directionalLightColour * shadowFactor * dLData.directionalLightIntensity;
for (int i = 0; i < numberOfSL; i++)
{
    SpotLightData light = sLData[i];
    const float3 toCamera = float3(light.transform._14_24_34 - worldPosition);
    shadowFactor = CalculateShadowNoBlurring(light.shadowMapInfo, light.transform, worldPosition, bias);
    const float3 spotlightColour = EvaluateSpotLight(light.colour,
            light.intensity,
            light.range,
            light.position,
            -light.direction,
            light.outerAngle,
            light.innerAngle,
            toCamera,
            worldPosition.xyz);
    const float shadow = shadowFactor * (clamp(1 - length(worldPosition - light.position) / light.range, 0.0f, 1.0f) * light.intensity);
    colour += shadow * spotlightColour;
}
Calculate how much light that reaches a given point in the compute shader. Full example can be found here
Implementation
So, with the knowledge of how this is done, how was it implemented?
First the 3D textures need to be prepared with data. By dispatching the calculations to a compute shader
for each texture I was able to run both calculations in parallel. The texture responsible for the light
data was given information from our deferred rendering pipeline as well as the shadow atlas with all the
relevant light sources data.
The fog density texture estimates its density by generating a perlin noise texture designed to simulate
fog. Two external parameters were sent to the compute shaders to simulate wind in any direction.
By this point the volume can be rendered as any other model. But there is a problem! When outside of
the volume everything looks correct, but as soon as the camera enters the volume nothing happens. This
happens because when inside the volume we only see back facing triangles and since the renderer is per
default set to only render front facing triangels it therefor doesn’t run the required pixel shader on
the volume.
My solution to this problem was to instead render it with Frontface Culling enabled and not write to
depth. When rendering the volume with these settings the volume instead renders the back faces of the
box. Since depth is not used it is also important to handle the depth calculations manually instead so
that the volume isn’t rendered on top of everything else.
Another solution to this problem is to run the volumes pixel shader as a fullscreen effect
instead.

A slice from the 3D texture containing after calculating how much light reaches a given point.
Raymarching?
As mentioned, a pixel shader was used to ray march through the volume. Ray marching is an algorithm where a ray is traversed iteratively by dividing itself into smaller rays and sampling data at each step. In my implementation, each step samples both 3D Textures to see what data correlates to the given point. This is visualized by the green dots in the illustration. By adding the colour given from the light-texture to the fogs colour and multiplying the result with the density value given by the density-texture we are left with a step size contribution to the pixels final colour.

Conclusion
Implementing this has been a real journey. In the beginning I had a hard time finding any concrete sources on how Volumetric Fog has been simulated but after some time I found two really great sources from Bart Wronski (Ubisoft) and Sebastian Hillaire (DICE) that gave me great insight to some AAA versions. I was at first a bit overwhelmed since there was a lot of new subjects for me. Since I had no previous experience with either 3D textures, compute shaders or raymarching I researched a ton before I was confident enough to start. In the end I am happy with the result and I feel like I’ve grown as a programmer from the experience. I am very happy that I got the opportunity to explore compute shaders as I’ve found the subject intriguing but had no reason so far to implement it. If I had more time I would like to tweak how the colours are calculated since I feel like the result can get quite overexposed when a lot of light is directed on the volume. I would also like to implement Temporal Anti-Aliasing since it could help blur the fog since there can be some banding and artifacts from sampling the light texture.
